Laboratory - [HTB]
![Cover Image for Laboratory - [HTB]](/assets/images/blog/laboratory/laboratory.png)

Introduction
Laboratory is an easy (MEDIUM) linux machine where the attacker will have to exploit Git Lab's web site in order to get a reverse shell, then he or she will have to change the password from a Git Lab's user and finally do some reversing of a setuid binary to a later use of the path hijacking technique in order to become root.
Enumeration
As always, let's start scanning all open port in the machine.
Then, let's scan all open ports in order to get further information.
As we can see, nmap provide us two different domains laboratoy.htb and git.laboratory.htb. Once added these domains to the /etc/hosts file we can get access to the different web pages.
In the laboratory.htb page there is nothing useful, so let's jump into the git page.
In the git.laboratory.htb page appears to be a GitLab page where we can register, create repositories, etc.
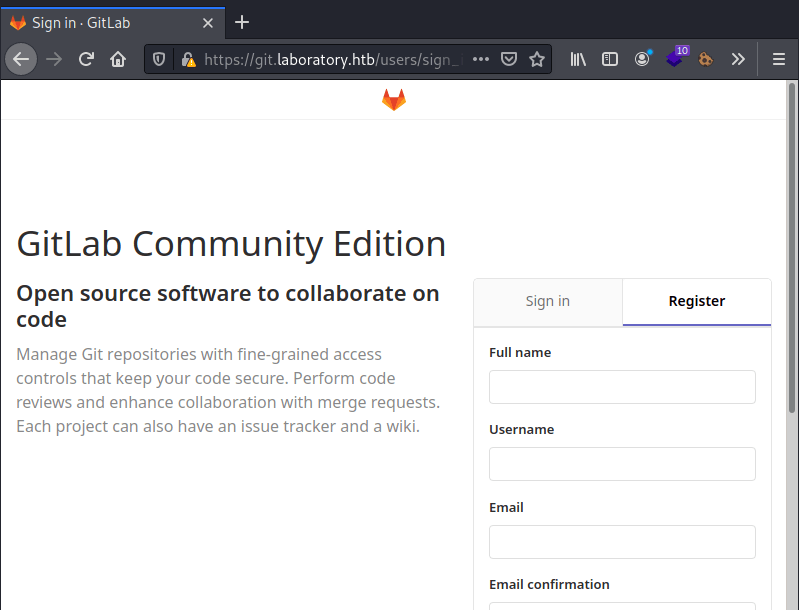
If you try to login with an invented email domain you will get the following error.

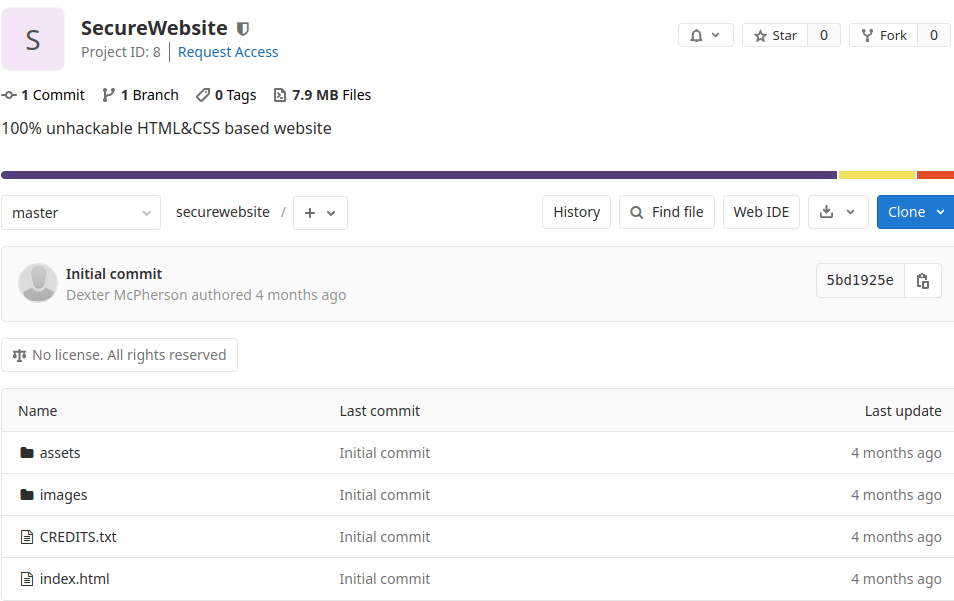
In order to solve this problem, you will need to write "@laboratory.htb" as the email domain. Then, looking inside "Projects/Explore projects", there is a a Git Lab repository named "SecureWebsite" and owned by Dexter McPherson where we can find the source code of the laboratory.htb page. However, knowing any of this help us at all.
Explotation
Looking for the Git Lab version (12.8.1) (You can know it going to the following link). This version is not only affected by Arbitrary File Read vulnerability but also with an RCE. You can find everything in this link (The process to trigger the vulnerability is explained in the comments). However, all the steps that you need to execute in order to get a reverse shell will be explained here.
First of all, if we want our RCE to work we need the secret_key_base key of the gitlab-rails which can be obtained in the following path /opt/gitlab/embedded/service/gitlab-rails/config/secrets.yml. In order to obtain it, we need to create two "New project"s with our account.
Then, in one of them create an issue with the following description.
Submit the issue and move it to the other project.
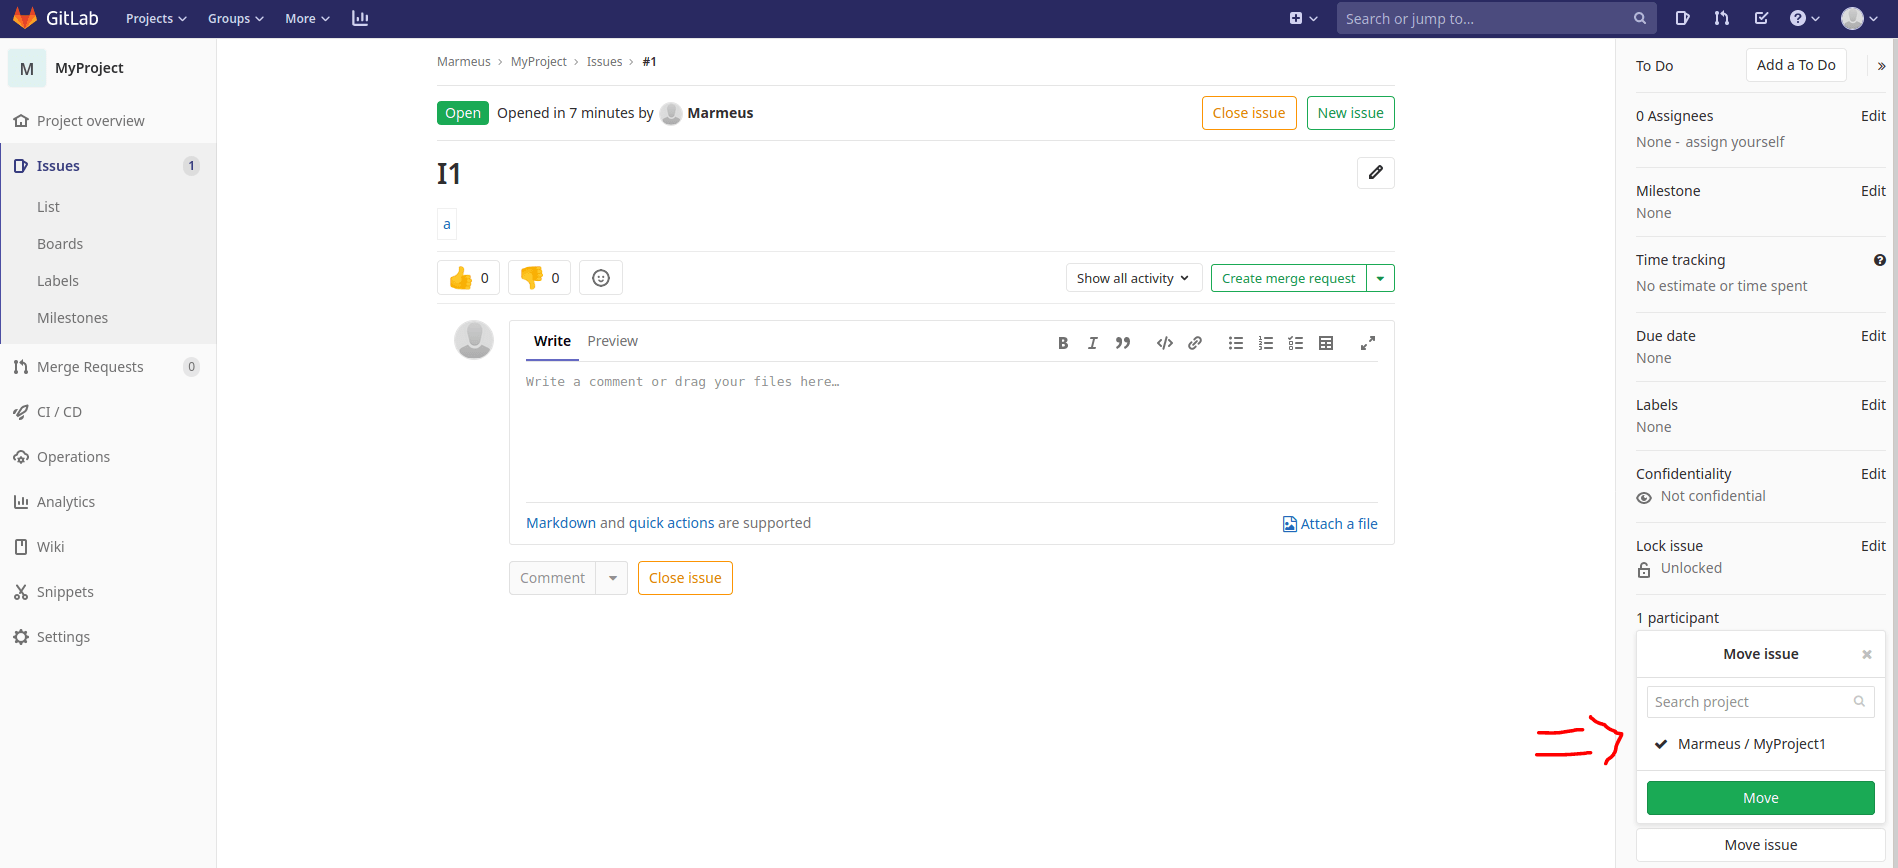
Now, you will see that the description has changed to an attach file, that can be downloaded.

At line 8 will be our secret key.
Now, we need the same Git Lab version to create our payload. In order to create a our own Git Lab page we are going to use Docker.
After that, we need to modify the secret_key_base variable inside the file secrets.yml of our container.
Finally, using gitlab-rails console we can create a cookie that once unserialized will execute code, in our case, a python command that will create a reverse shell.
Note: Do not forget to change the IP and port. Note 2: Do not put any port into listening mode with nectat or the command won't finish.
Now, we can create a listening port with netcat and send the cookie with the following script, passing the cookie as a parameter.
After, executing the exploit we obtain a shell that can be upgrade using python3.
Privilege escalation 1
Now that we have access to the Git Lab container, we can change the Dexter's password for our account's password (12345678). In order to do so, we need to use gitlab-rails console, writing the following commands.
Now, we can get access to the Dexter's Git Lab account with the password "12345678", discovering a new repository named "SecureDocker".

Inside the "SecureDocker" repository there is an id_rsa file that can be used to access to the machine through SSH as Dexte, getting the user flag.
Privilege escalation 2
In order to get information about the machine we can use LinPeas, which provides us with a setuid binary owned by root with execution privileges for dexter.
We can use Ghidra to decompile it and analyze its code.
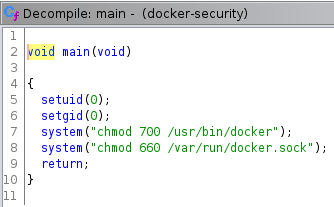
As we can see in the previous picture, the binary doesn't use absolute paths in order to execute chmod. Hence, we can use the path hijacking technique to made the program to execute a fake chmod instead of the original one. In order to do so, you need to create a script named "chmod" in the /tmp/ folder which executes bash.
Then, we need to add execution permissions to the script and modify our shell's path variable so the shell checks first if the binary is located at /tmp/.
Finally, we need to execute the docker-security binary to become root, getting the root flag.
Conclusion
Despite the last part is easy if you know how to decompile a program, obtaining a foothold was not easy at all. So, in my opinion this machine should be considered as medium not easy level.